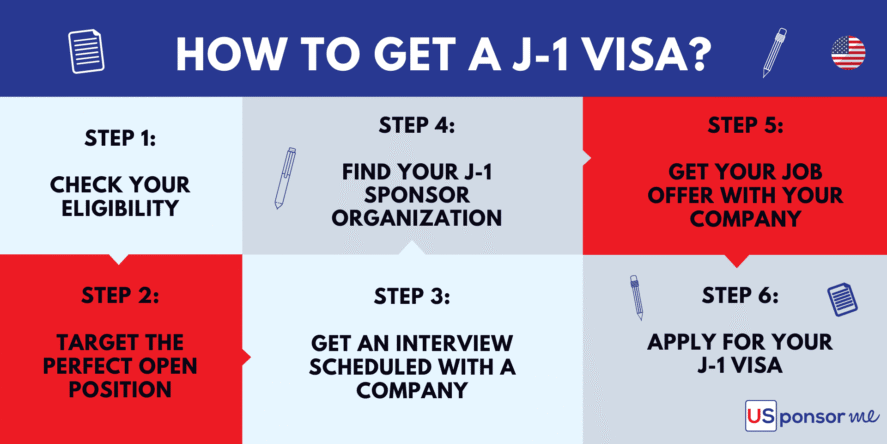
Before we dive into the J-1 visa application process, you must first have a job offer from a company, know what the J-1 program is right for you, have chosen a sponsor organization, and reside outside the United States.
Step 1: Get Approved By Your Sponsor
You already pre-selected your sponsor the moment you attracted a company after applying for a job. So, from now on, you should only have to take care of the administrative tasks of the J1 visa application process.


Reach Out to Your Sponsor
Contact the sponsor company and tell them you received a job offer and are ready to apply for a J-1 visa.
They will ask you to send the following documents for your J-1 visa application.
Send All Required Documents to Your Sponsor
Here is the list of information that your sponsor may ask you for:
- a permanent, valid, foreign address in your home country.
- an emergency contact (full name, address, phone number, email address, and nature of the relationship) who resides in your home country (it’s highly unlikely that they will ever use this).
- the total monthly rent payment required for your residential lease in the U.S. The validation of your file will indeed depend on your ability to reside in the US based on your remuneration. If your expatriation budget seems much higher than what you expect your employer to pay, chances are it will be rejected.
- your total gross income provided by the U.S. company, if any.
- any financial support you get from the government or other persons/organizations for the J1 program.
- your personal funds (required if it concerns an unpaid internship).
Here is the list of documents that your sponsor may ask you for:
- a PDF copy of your entire passport (which should be valid for the duration of your J1 program), which includes all pages of your current passport.
- the same resume in English you applied for the concerned job with.
- the concerned job ad with the whole job description.
- a copy of your highest degree (related to the job).
- a transcript of this highest Degree (if you don’t already have a copy, you can simply contact your University and request a digital one).
- a copy of all the job and internship contracts that you have had in your field (to verify your year(s) of experience).
- one digital 2″ x 2 ” photograph (compliant with American passport photo guidelines) taken within the last six months. It should meet these specifications. (for you and all family members who want to apply for a J-2 visa).
Here is the form that your sponsor may ask you to complete and provide for them:
- You and your company should complete and sign the DS-7002 Form. The DS-7002 is the training/internship plan. It describes exactly what will take place during the program and should be strictly adhered to.
Your sponsor organization may help you fill out this form. If this is the case, our advice is to work closely with your Responsible Officer (RO) as it is their mission to guide you through the application process and answer any and all questions you may have. For instance, the RO will normally fill out all the descriptions, dates, and cost details of your program before handing you your DS form.
What You Should Keep in Mind
The information from documents and completed signed forms will help us to determine if you are eligible for the J1 program. It should prove to the sponsor that:
- you have a life outside the USA.
- you have at least one year of experience outside the U.S. territory in the job sector you want to pursue (related experience).
- your J1 program is in a field listed as eligible for a J1.
- you have a degree in higher education (post-secondary degree) or an equivalent (professional) certificate obtained in an institution outside the USA that matches with the J1 program, or 5 years of experience (starting at the age of 18) outside the US territory in the sector of activity that you wish to improve that matches with the J1 program.
- your trainee program doesn’t duplicate any of your previous work experience or internships.
- you will have money left to live in the US after all expenses are paid (by calculating and assessing compensation against expenses).
Schedule and Prepare for a Call Interview With Your Sponsor
Your sponsor will schedule an interview call with you to decide whether to sponsor you.
Be prepared for a 30-minute call with them and to answer multiple questions.
Master Your Call Interview With Them
During this interview, the sponsor will check with you and make sure that:
- you have a life outside the USA, and you have no intention of abandoning it as your stay in the United States will only be temporary
- your previous experience and/or study match your trainee program
- your trainee program doesn’t duplicate any of your previous work experience or training
- you will enjoy the benefits of your American experience in your home country.
So, they will ask you:
- where are you currently?
- what you have learned during your study, training, etc.?
- to tell more about your past experience, internship,
- what skills do you have?
- how could you contribute to the company?
- what do you have to offer them with your foreign background?
- how do you plan to integrate and participate in American cultural life?
- what are you going to do once you return home after your J1 (any direction, ideas, desires)?
- what do you think about using American culture when you have returned to your home country?
Schedule an On-Site Visit
If it’s the first time the company will work with a J-1 sponsor, and if it’s a small company, your sponsor will certainly request an on-site visit at the company office. This is to ensure your company meets all requirements for hosting a J-1 holder.
During an on-site visit, someone from your sponsor organization will personally visit the company office and take some pictures for a report to the sponsor.
Generally, they check if the company offers a safe work environment for the J1: a workspace (desk, chair), a bathroom, a kitchen, etc.
Whether an on-site visit takes place or not (if a company will even have the on-site visit) will depend on your sponsor.
You or your company may be charged an additional fee for the on-site visit by your sponsor. It will also extend the J-1 application processing time.
Wait For Their Response
It will take five days to three weeks for your organization to accept to be your sponsor (the length of time depends on the sponsor).
Your sponsor – more precisely, the Responsible Officer (RO), which is the only organization authorized to issue this form – will then send the DS 2019 form to both you and the American government (the US embassy or consulate where you applied). It certifies that you are eligible for an exchange visitor status. It was previously known as the IAP-66.
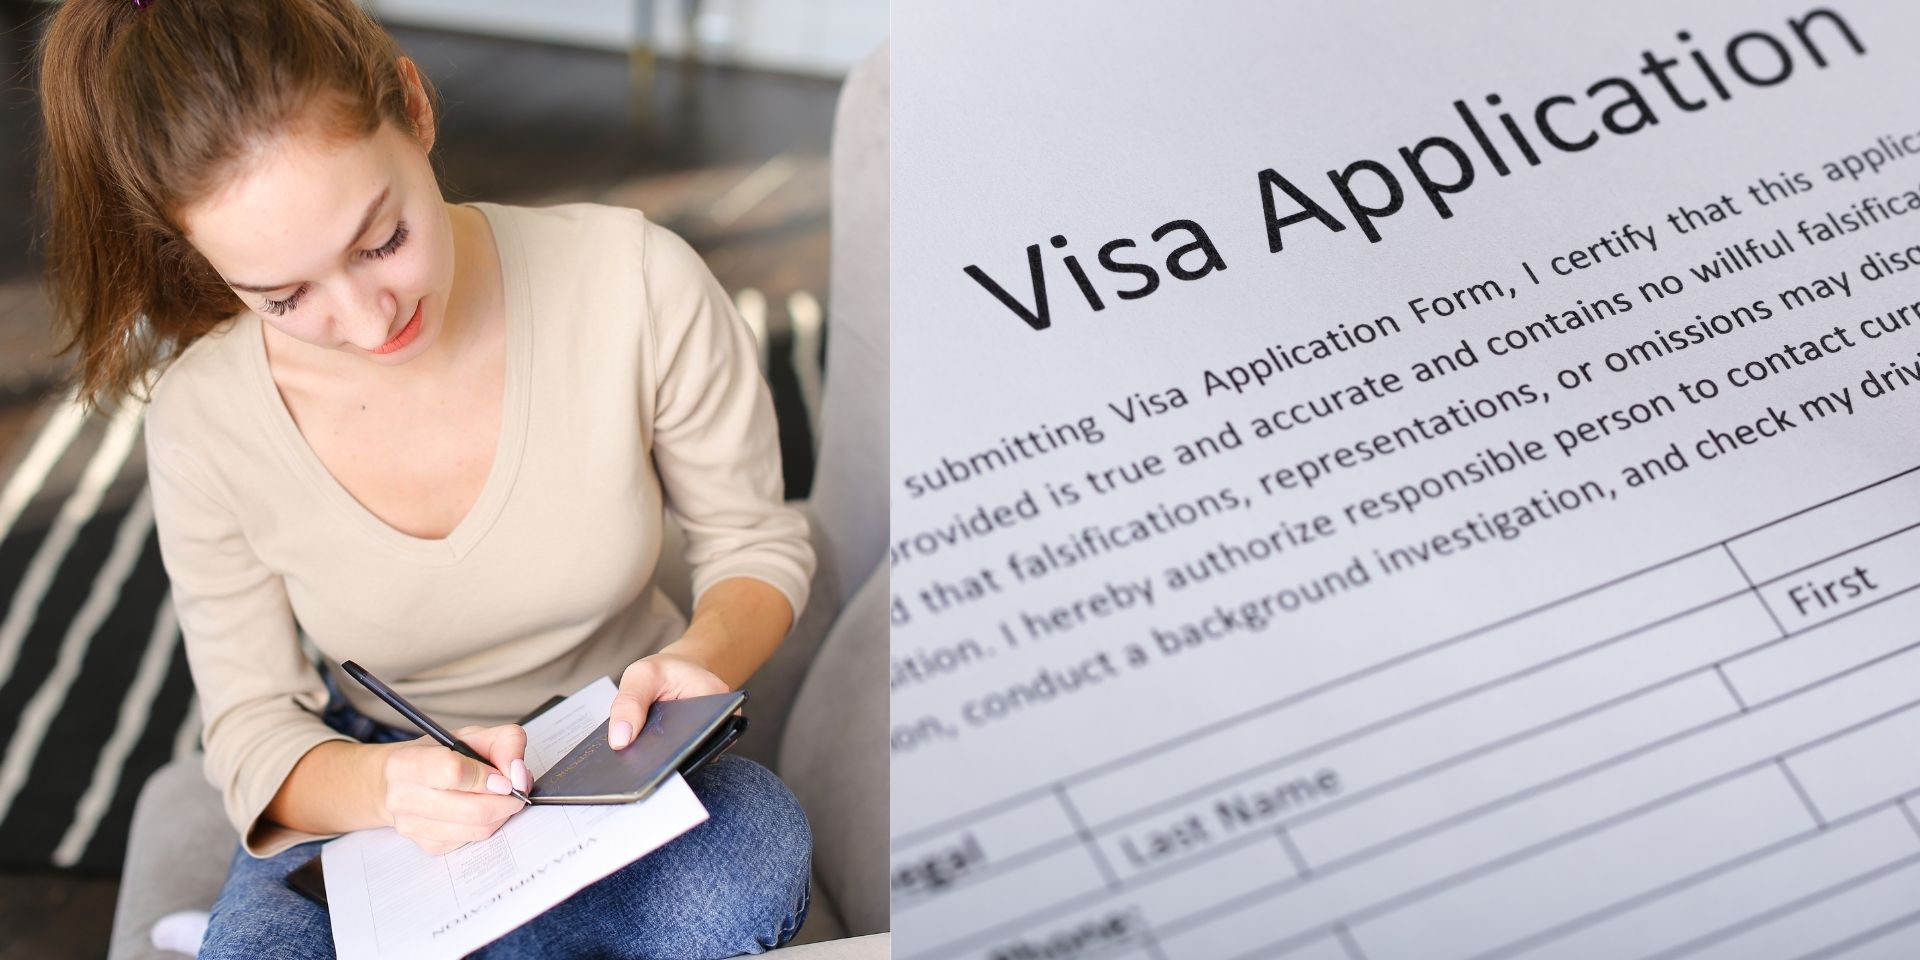
Step 2: Complete and Submit your DS-160 Form
The DS-160 form is the online non-immigrant visa electronic application that you, who are applying for a J-1, and all members of your family (spouse and/or children), who are applying for a J-2, should complete and submit.
It’s one DS-160 per person. So, if you have a spouse and three children, you will fill the DS-160 visa application five times.
The instructions: in your computer browser, go here, select your home country, and start filling out the J1 visa application.
During your online application, upload your passport-style photograph required in the documents above.
Once your DS-160 is submitted, make a PDF copy and print each DS-160 Submission Confirmation Page. In the end, you should have as many DS-160 confirmation pages as you have family members.
Keep the DS-160 submission confirmation page for each fee you paid because you will need it for your visa interview.
Step 3: Pay the MRV J1 Visa Application Fees
Once your form is completed, you will need to make sure that your visa fees (or SEVIS* I-901 fees for Student and Exchange Visitor Information System) are taken care of.
As we discussed earlier, your sponsor may have already paid for this part of your J1 visa fee. So, check with your RO to make sure that is the case. If they did, ask them for proof of payment.
If you have to pay the SEVIS* yourself, it’s $160 USD for each candidate. You can receive a refund for these fees from your company if you agree to it in negotiations. In the meantime, you should pay $160 for each individual family member.
In that case, go here. You will have to create a user account and follow the website’s instructions. Once it’s done, you will receive a PDF copy of your visa fee receipt.
Keep the receipt for each fee you paid because you will need it for your visa interview.
Step 4: Schedule and Prepare for the J-1 / J-2 Appointment at the Embassy
Schedule Your Appointment
Once you have paid the J1 visa application fees, you will be able to schedule your visa appointment using the same online system.
Most of the time, the next available slot for an interview at the embassy is between 10 to 12 days ahead, depending on the embassy and the period of the year.
Prepare for Your Appointment
In addition to all documents listed above, you must also bring the documents below to the embassy for your appointment:
- colored PDF copies of the DS-160 confirmation page(s)
- a PDF copy of the MRV fee receipt
- a PDF copy of your visa appointment confirmation page.
Your embassy or consulate may ask for additional documents, so you should contact them directly to make sure you have the complete list of documents to provide.
Master Your Visa Interview
During the appointment at the embassy or consulate, you will be asked by an officer many of the questions above about your exchange program.
This interview is intended to make sure your vision is compliant with the J1 visa application file they have on hand.
The officer may ask you:
- What is the J1 program you are applying to?
- What is the company (name, industry, what do they do)?
- Where is the company based?
- What are you going to do at your company during your J1 program?
- How long will your J1 program be?
- What are your intentions after your program (make sure you emphasize the fact that you intend to return to your home country after the J-1 visa expires. Show that you have binding ties with your home country with written proof, if possible)?
- What is your plan on how to cover your expenses during your stay in the US?
Prepare your answers carefully and make sure that your project seems solid, and that you also have plans for when you will return to your home country.
The interview usually lasts 10 to 15 minutes, and the officer will immediately approve or reject your visa application.
If he approves it, he will take from you your passport, in order to print and paste in it, and your visa, which you will receive back in a few days. It generally took us two days to receive ours.
Now, you know everything about the process of applying for a J-1 visa for the USA. I hope our explanations are clear enough. If not, feel free to ask questions and comment in the comment section below.
*SEVIS: Student and Exchange Visitor System Information. It is a system created by the US immigration services to follow and geographically localize at any time any student, trainee or intern.